Create a Music Production Project #
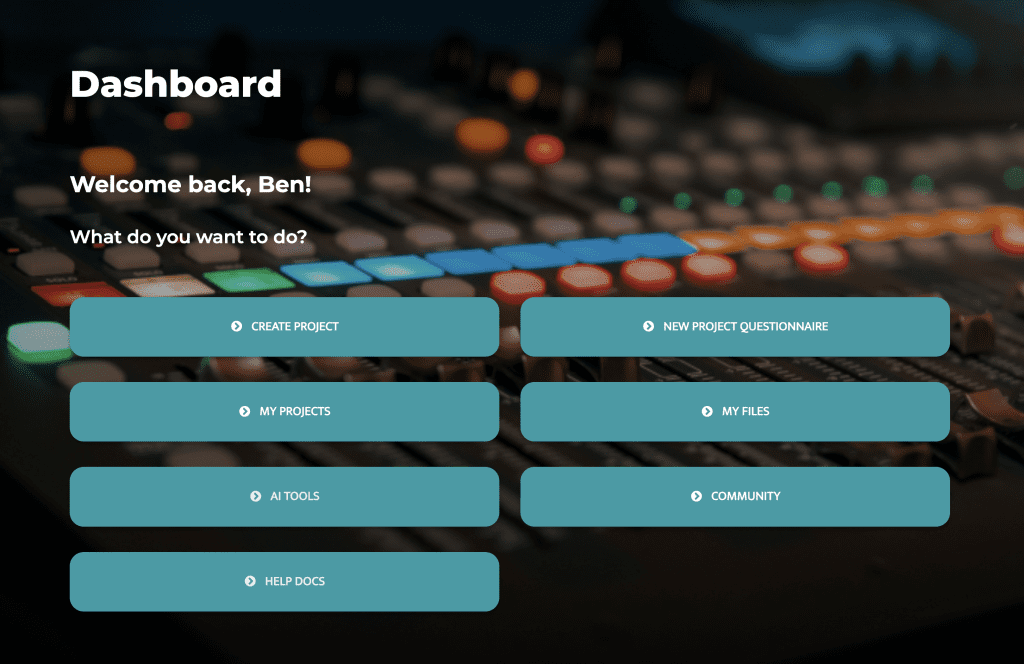
Once you’ve logged in, click the “Create Project” button on the Tunedly Dashboard. These options are also available in the dashboard menu.
Note that ‘new project questionnaire’ is only for the pre-order stage, when you’re not sure what packages and services you might need. You can use that questionnaire to fill out information about your future project, and we can provide you with the appropriate cart to match your requirements. Once you have created a new project and checked out, you’ll be sent to the form (see further down this help doc) that actually creates the project on the system.
The other buttons on the dashboard are to view your existing project, your existing files, AI tools if you’re a paid member, the Tunedly community and these help docs.
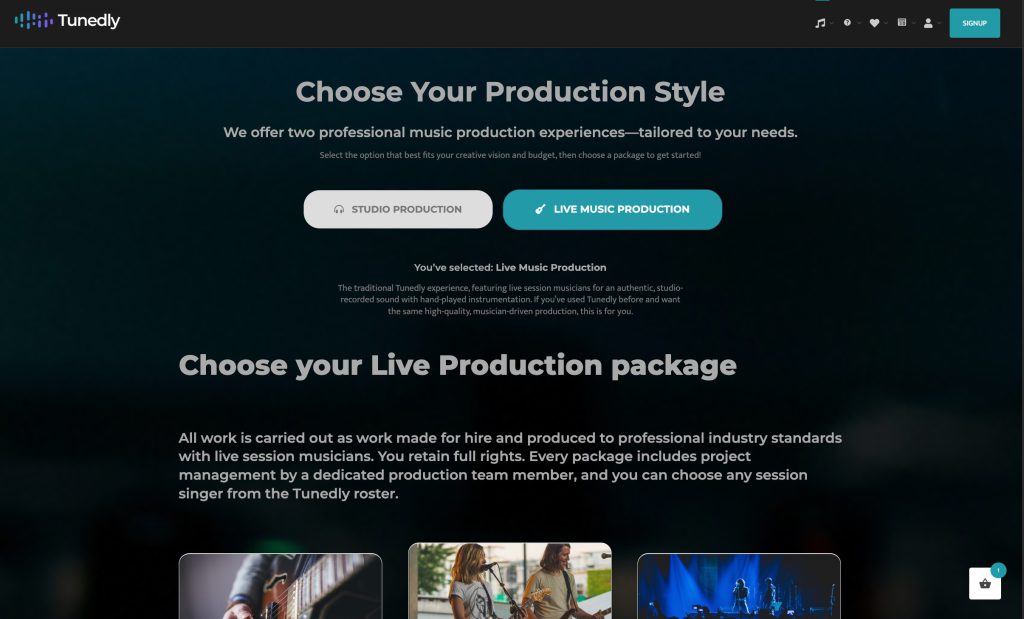
Choose a production style #
Firstly, choose your production style. You can choose from studio production or live session musician production (the traditional Tunedly experience). If you’re not sure, just leave it on studio production. Once you’ve made a choice, the website will remember it for future, but you can always switch at any time.
Studio Production:
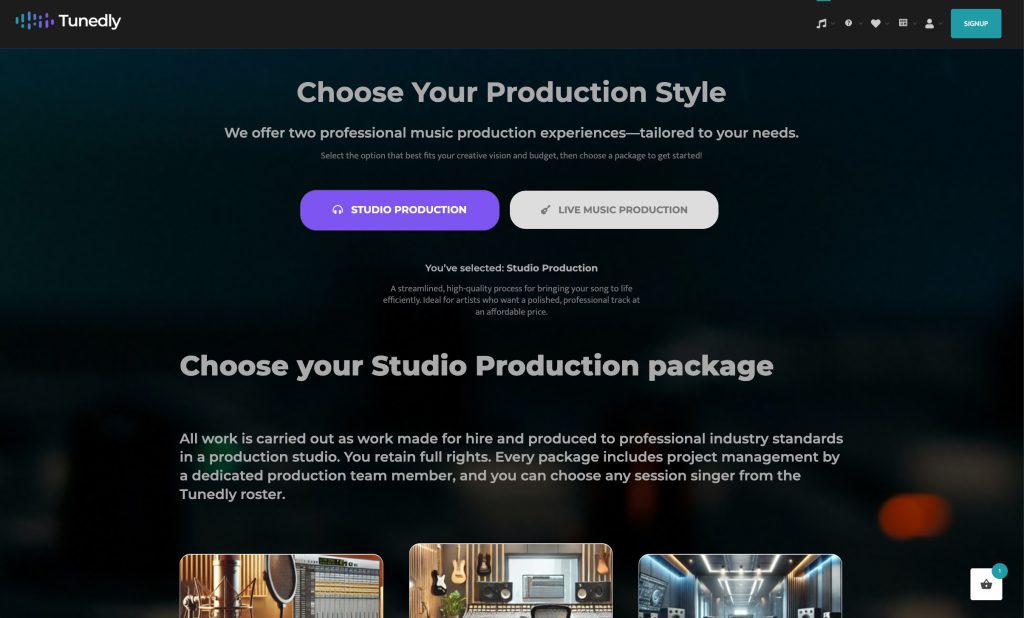
Live Music Production:
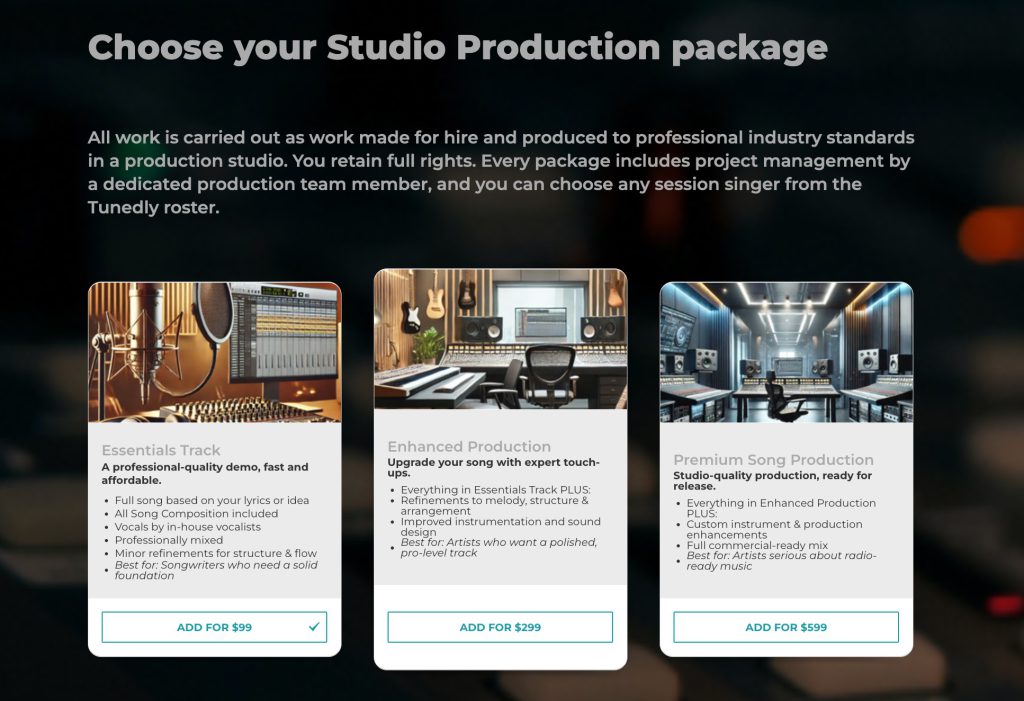
Choose a package #
After you choose your production style, you’ll then be prompted to choose from three pre-made packages, or you can fully customize one to suit your song project perfectly. If you’re not sure what to choose, go here for some help.
Studio Production Packages:
Live Music Production Packages:

Choose add-ons #
Once you choose the main production pacakge, it will automatically be added to the cart and the page will take you to the Add-ons section, where can choose add-ons like Vocals and Composing, and other services Tunedly offers. Note that you only need to add ‘Composing’ if you are using the Live Music production packages. Composing is included with the Studio Production packages.
 .
.
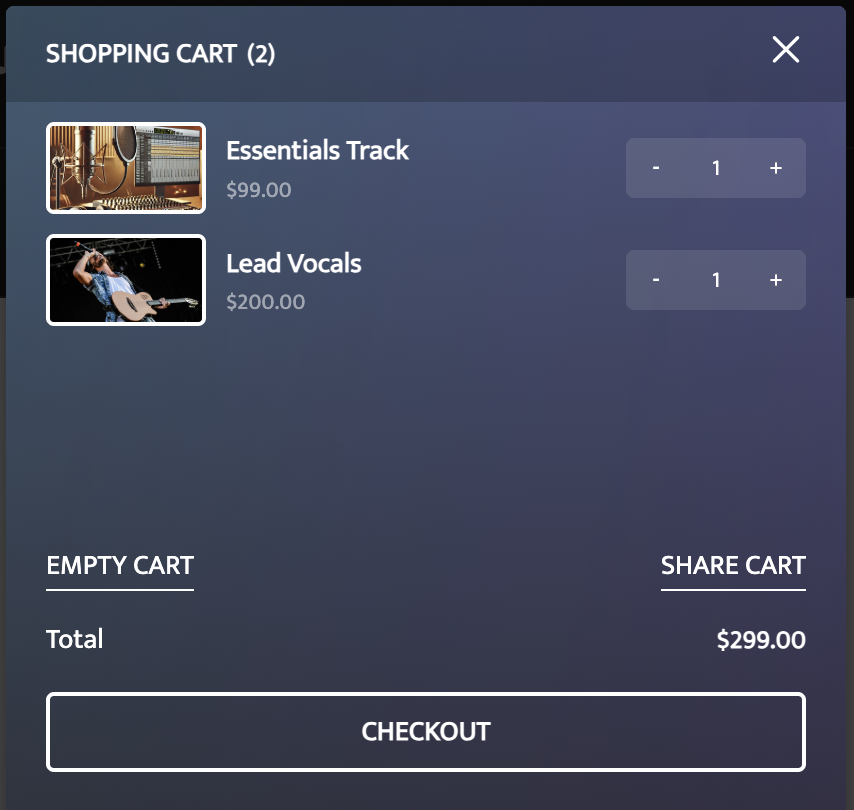
Cart #
The cart will appear (or if you’ve closed it, you can open it again by clicking the icon in the bottom right of the page), just hit checkout to be taken to the checkout page. Tunedly has partnered with Stripe for fast, secure online payment processing. Your credit card information is never stored on Tunedly’s servers, so we can never charge your card without your confirmation. If you have a coupon code you can enter it in the field at the left of the payment details area, then click “Apply Code”.
Checkout #
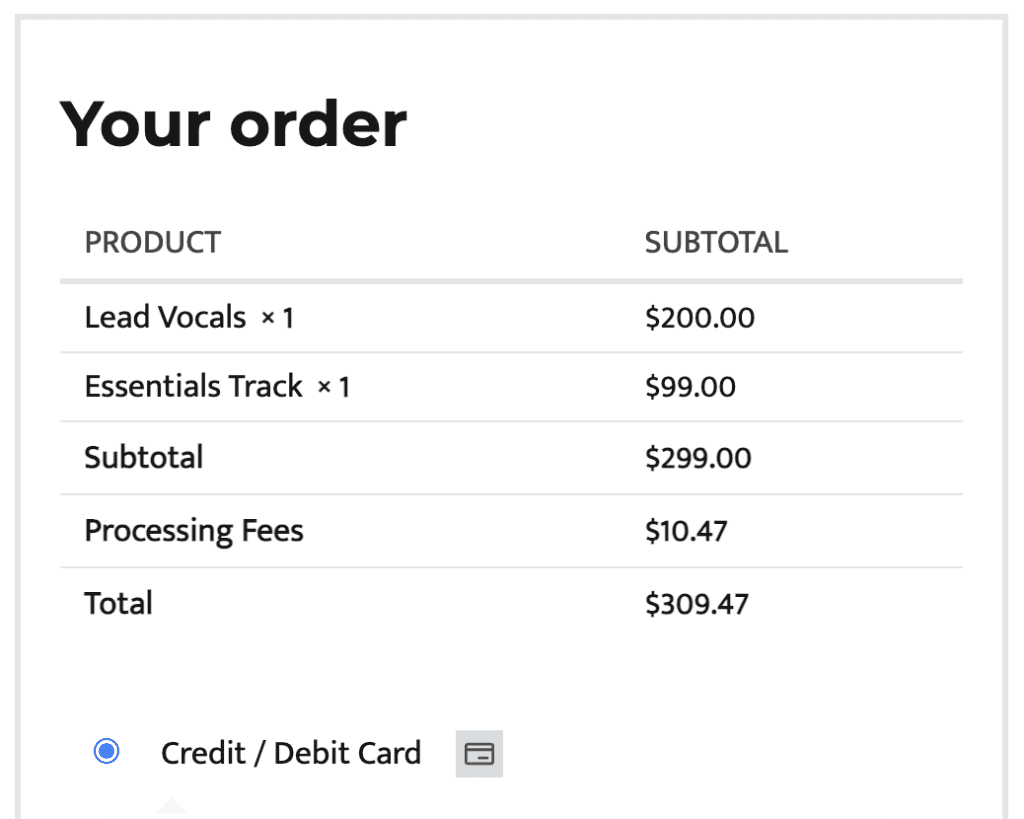
Once checkout is complete and you used a credit card, you will see a form in which to enter your Song Information. This will not happen if you selected ‘Direct Deposit’ as your payment method. In that case, you’ll be instead taken to a page with details to make your direct deposit. Once we have received the funds, your order will be marked as ‘complete’ and you’ll receive an email with the link to enter your Song Information, as per below. If you want to get started immediately, make sure you checkout with a credit card and ensure the processing is completed and the charge goes through. If it works, you’ll then be automatically taken to the Song Information page (and you’ll also be emailed the link in your completed order email).
If you ordered a Live Music Production package, you can select your preferred Project Manager and optionally your musician team (depending on what you ordered). If you ordered a Studio Production package, your project will be handled automatically by the Tunedly team. Either way, make sure to fill out the project information form with as much detail about your song as possible:

At the bottom of this screen, please upload your song files and fill out the rest of the information about your song. The more detail you give us, the closer we can get to your vision!
For audio, please upload MP3, AIFF or WAV files. For lyrics and chord sheets, we can accept PDF, doc or docx. You can drag and drop files from your computer after opening the file uploader (click Add File).

Depending on the size of your files and your internet connection, it may take a while for your files to upload. In some cases, your internet connection may have insufficient bandwidth to upload large files. Don’t worry, if anything goes wrong you can try again, or just post file sharing links in the notes or chat.
Once the project has been created, you’ll be taken to the project page. Everything you need is on there.
The activity section is where you can track activity and chat with your Project Manager about your song.
The details page gives you a summary of your original order that includes whatever you ordered in your initial order. This won’t show any separate orders where you added additional add-ons, just the original order.
The requirements page is where you can edit or review the song details you filled out when creating the project. If you make any changes, make sure you click ‘update project’ at the bottom. You can also add new files here if you didn’t upload everything originally. This page will also show whatever add-ons you originally ordered or any you ordered later and applied to this project.
The delivery page is where you can grab your final delivery once it’s been made, and approve it.

Here is the section where you will chat with your team – it’s at the bottom of the activity section:

As well as selecting your team, depending on the services you checked out with. If you wish to make any changes, make sure to hit ‘update team’ afterwards. Choosing your team is optional and only shows if you have purchased an appropriate Live Production package, or an appropriate add-on that gives you the option to select a Composer, Vocalist or Musician. It’s usually best to leave it up to your Project Manager unless you have specific vocalist, sound or instruments in mind.

That’s it! When you send a message or update your project, your Project Manager will be emailed a notification with all of the information and we can begin creating your masterpiece!